How to spend a Monero paper wallet with AnuBitux

In this post, we have seen how to spend bitcoins we have received on an address associated to a paper wallet. The procedure is about the same for any cryptocurrency. The main matter usually is to use a proper client, but it is also important to know how the virtual currency we are going to spend works.
Monero is a bit different from the other virtual currencies, not only because of its focus on privacy but also because it works with two different private keys:
- a private view key;
- a private spend key.
When we create a new Monero wallet we obtain a mnemonic seed. Our client calculates, starting from this seed, two sets of keys, named spend keys and view keys:
- public view keys are used to verify addresses;
- private view keys, as their name suggests, are used to view the data associated with an address, like the balance, the transaction history, etc, and can be used to set up view-only wallets;
- public spend keys are used to verify transactions and, combined with the public view keys, to generate addresses;
- private spend keys are used to sign transactions and allow users to spend their coins.
To see in-depth how Monero works, you can refer to Mastering Monero by SerHack.
In a previous post, we have seen two suggested procedures to create a Monero paper wallet. To spend coins from our paper wallets, the procedure may change based on the information available on the paper wallet: we may have stored the whole mnemonic seed or only the private keys and the primary address.
Case 1: mnemonic seed
Let's hypothesize we have a paper wallet on which we have the mnemonic seed of our wallet.
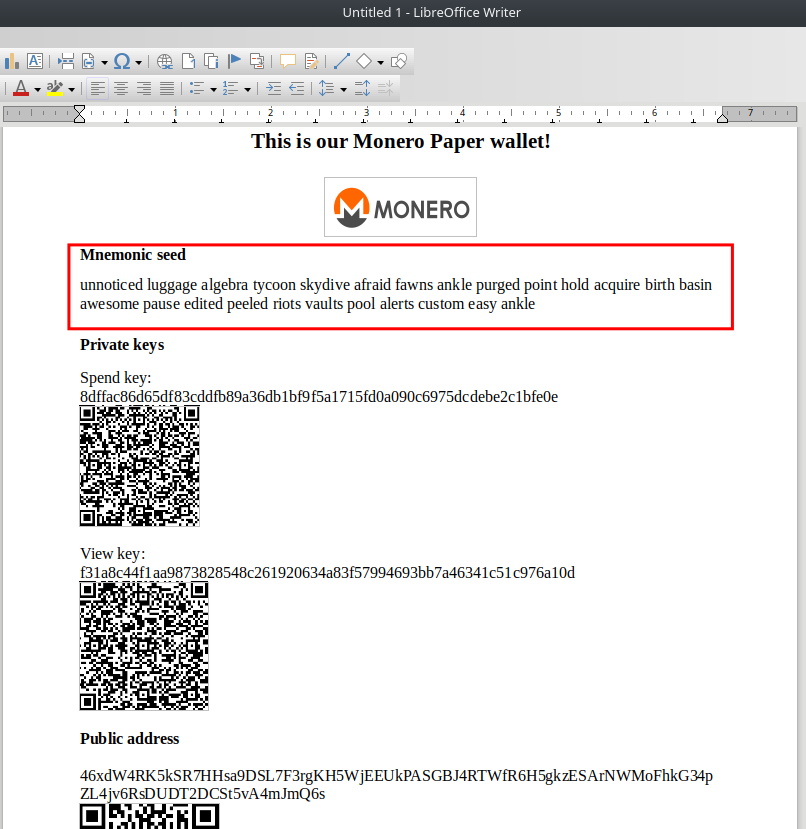
In this case, we only have to choose a client that supports Monero seeds and import our one.
In AnuBitux we can choose between many clients, like Feather wallet and MyMonero.
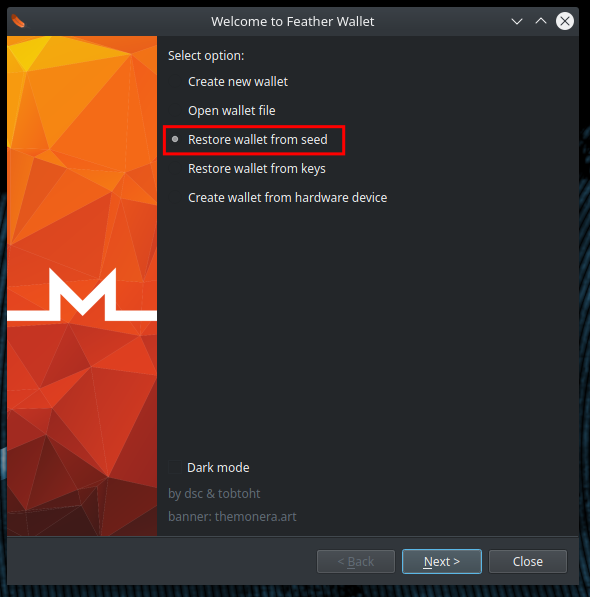
Using Feather Wallet, we can follow the wallet creation wizard and select the "Restore wallet from seed" option.
In the next step we have to choose the length of our seed, in our case 25 words, its language, in our case English, and paste the seed in the proper box.
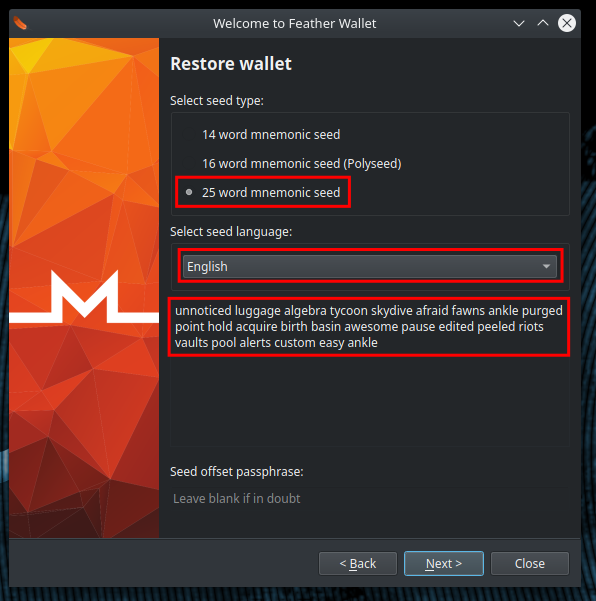
25 words is the length of Monero native seeds. The other options, 16 and 14 words, are used by Feather wallet. Previously feather wallet used 14 words seeds containing words from the Monero wordlists. Now, from version 2.0, it supports 16 words seeds containing words from the BIP39 wordlists.
The last box, named "Seed offset passphrase", could be used to provide an optional passphrase added to our seed.
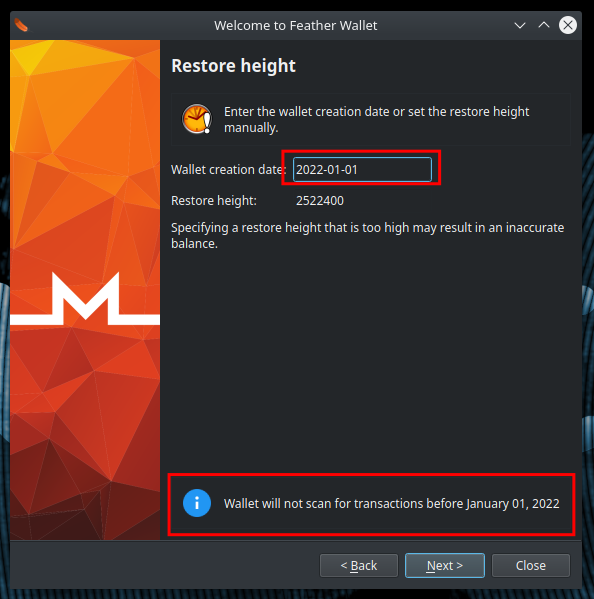
In the next step, we need to provide the wallet's creation date. It is useful to make the synchronization of our wallet faster, since our client won't check the blocks that are older than the provided date, looking for an activity that involves our addresses.
If we are in doubt about the date to provide, we can provide a very old date. The only matter is that this could make the synchronisation process very slow.
If the "-" character seems not to work, remember to set the proper keyboard layout. It can be done in the terminal with the setxkbmap command, followed by the proper country code.
At this point, to obtain access to our wallet, we only need to provide a name for our wallet and a password to unlock it.
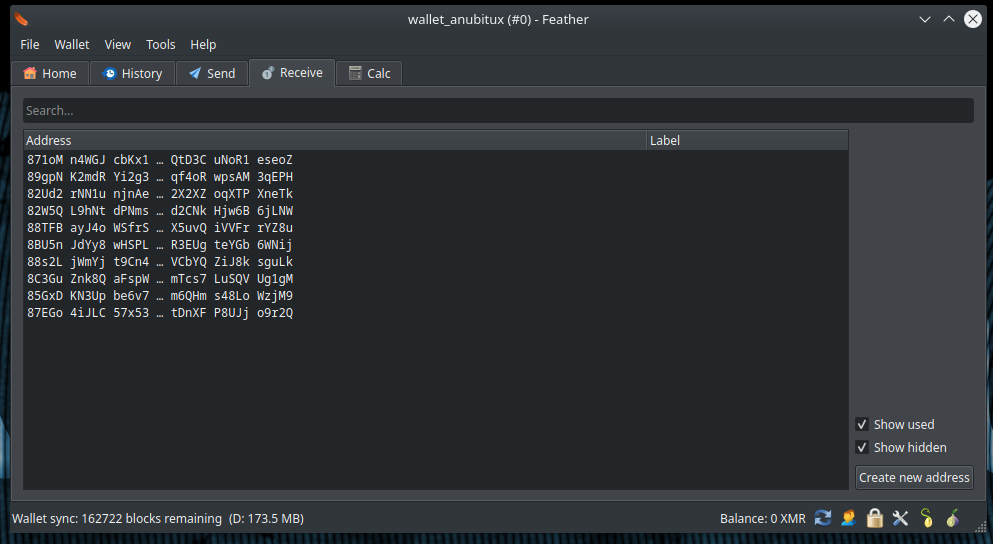
It could seem a bit strange, but in the "Receive" panel we are only seeing addresses starting with the digit "8", but the address on our paper wallet starts with the number "4". With Monero seeds we obtain a primary address starting with "4" and a lot of subaddresses, starting with "8". By default, Feather wallet shows only the subaddresses. To see the primary address we can click on "Wallet" and on "Keys".
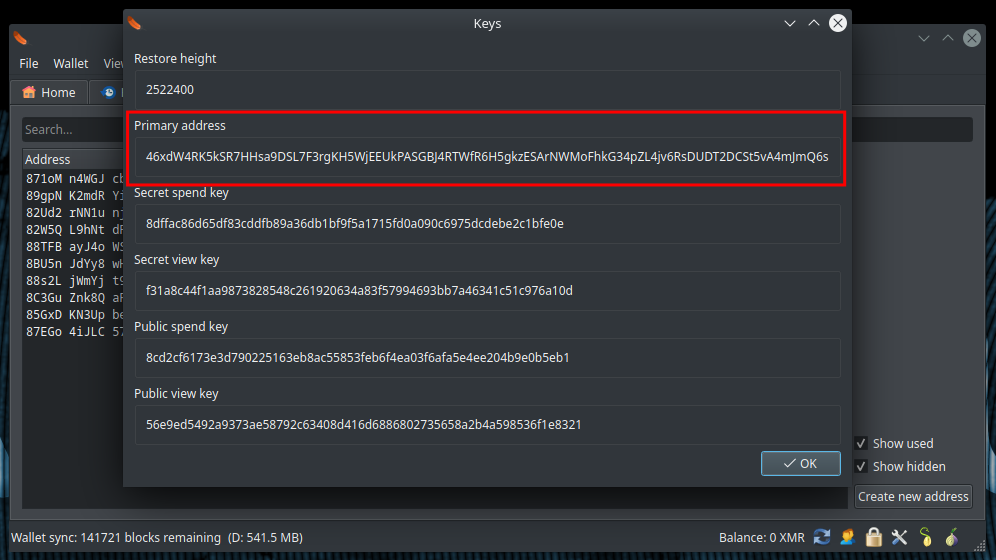
Funds received by the primary address will be equally spendable in the "Send" panel. The addresses listed in the receive panel are intended to be shared when we want to receive funds. To avoid correlation, it is suggested to share a different subaddress each time we need to receive a payment.
Case 2: private keys
Let's see how to manage a paper wallet on which we have only the primary address and the private keys. It could be easily handled with Feather's wallet creation wizard. To not be repetitive, let's see how to spend our funds with the MyMonero client.
First of all, we need to start the tool, that is available in the AnuBitux menu under the "Wallets" section and click on the "Use existing wallet" option.
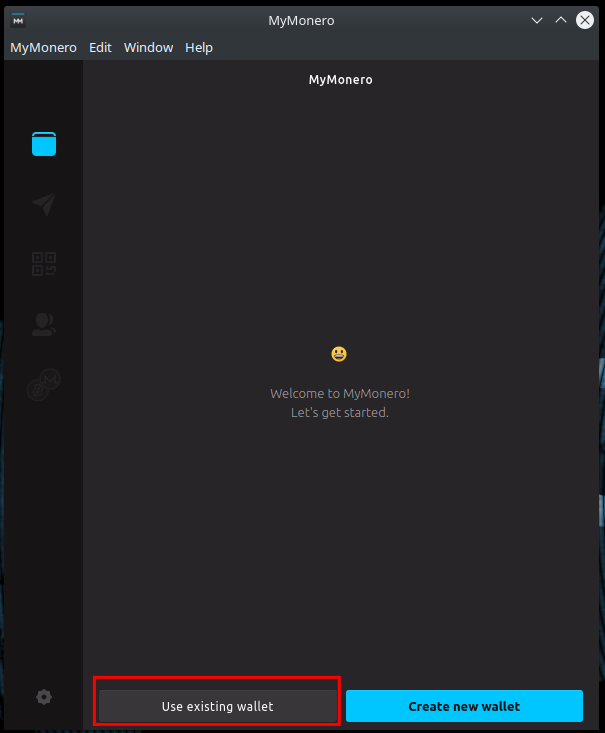
Then, by default, the tool asks us to insert the mnemonic seed.
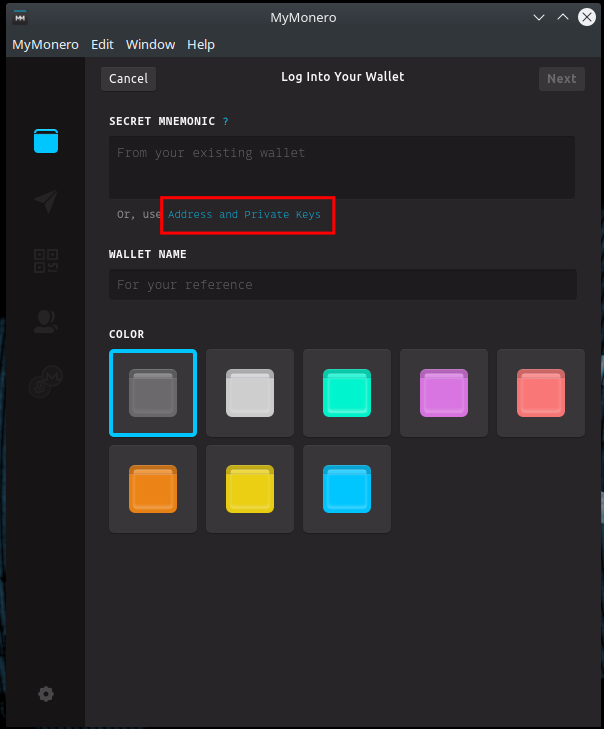
Clicking on the proper "Address and Private Keys" button, we will be able to insert the keys that are on our paper wallet, and gain control of our coins.
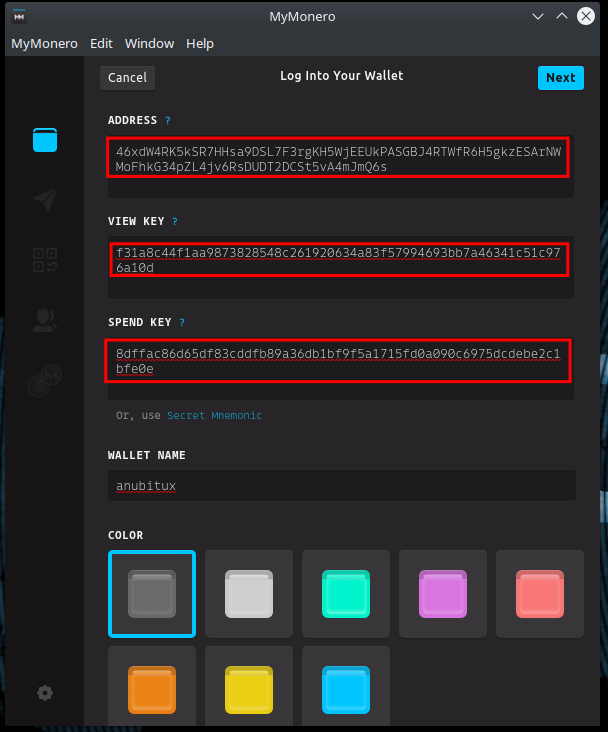
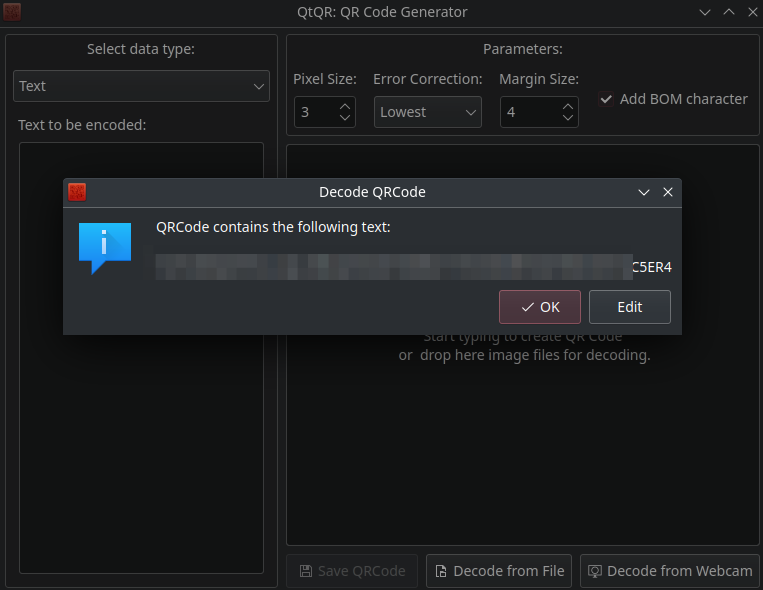
If we have only a physical copy of our paper wallet (how it should be), it could be very annoying to manually write our keys. If we arranged the QR codes of the keys on our paper wallet, as shown in this tutorial, we could use the QtQR tool to read them. The tool is available in the AnuBitux menu, under the "UsefulTools" section.
In this phase, using other tools to manage our private keys, it could be a good idea to work in an offline environment. In AnuBitux we can use the proper desktop shortcut, named "Go Offline".
Now, when we provided all the needed information, we can click, next, choose a password for our wallet and then we will gain access to our wallet.
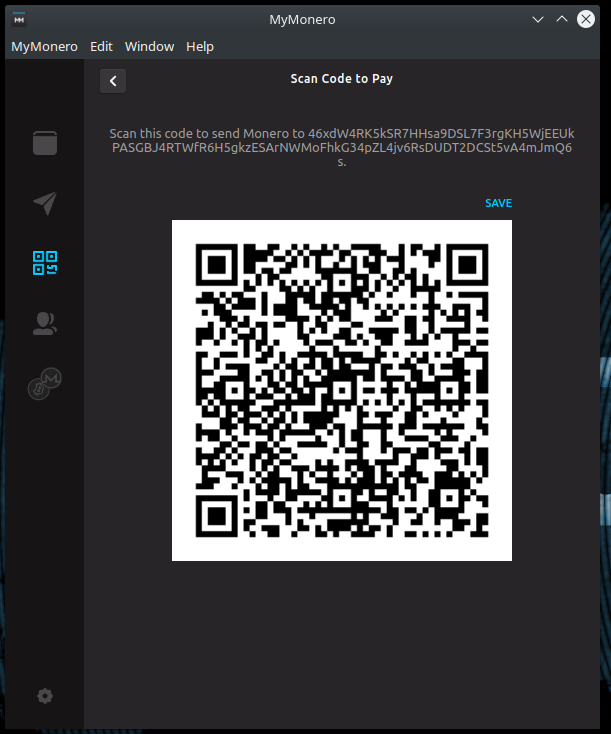
in this case, in the receive panel, we will see the same primary address shown on our paper wallet, and not a list of subaddresses like happened with Feather wallet. This happens because, at the moment, the MyMonero client does not support subaddresses.
CLI method
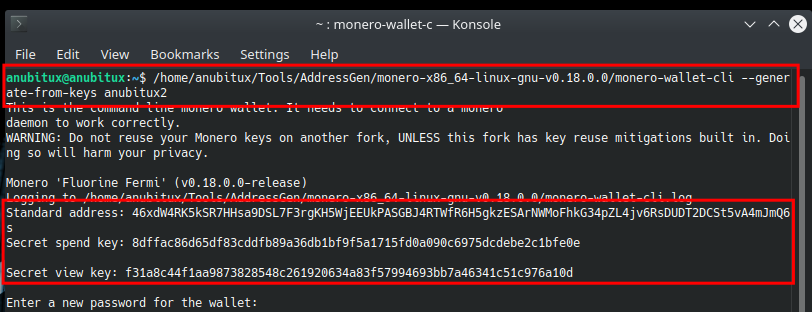
The procedures shown have to be considered only suggestions. Every Monero client could be used for the same purposes. We could perform this task also with the Monero-CLI-wallet (included in AnuBitux under the AddressGenerators menu), as shown here. Basically, we need to start the Monero-CLI-wallet with the --restore-deterministic-wallet option, typing in our terminal
/home/anubitux/Tools/AddressGen/monero-x86_64-linux-gnu-v0.18.0.0/monero-wallet-cli --restore-deterministic-wallet
and providing the mnemonic seed that we have written on our paper wallet.
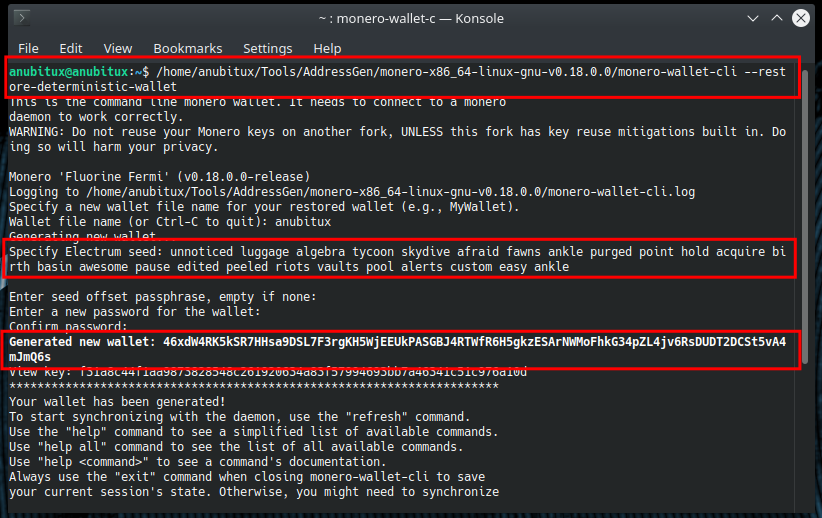
We can also perform the second method with the Monero-CLI-wallet, using the "--generate-from-keys" option followed by the name we want to give to our wallet, typing
/home/anubitux/Tools/AddressGen/monero-x86_64-linux-gnu-v0.18.0.0/monero-wallet-cli --generate-from-keys MyWalletName
in our terminal and providing the information asked by the client.
