
How to create a paper wallet with AnuBitux
One of the purposes of those who use a live work environment like AnuBitux is to leave no traces on the device. This feature could be very useful when doing things that need to remain secret, like creating a paper wallet.
When we create a paper wallet with our daily operating system, even if we delete the file when the process is complete, some information could remain on our disks, like cached pages and thumbnails, or worse, some information could be sent through the Internet to some remote device that could store our private keys. Consider what happened with bitcoinpaperwallet.
Using a live environment, the operating system is not stored on the internal hard drive of the device we are using, but only on the RAM. So, in most cases, turning off our device will delete its content because it is considered to be a volatile memory and no one will be able to recover its content.
The steps to follow
Let's see the steps to follow to create a secure paper wallet. This tutorial only takes care of the creation process. The safe storage of the paper wallet completely lies on the user.
Test the environment
AnuBitux comes not only with a lot of cool tools. It also has lots of printer drivers installed. Before proceeding, it is a good idea to test if our printer is supported by AnuBitux or if we need to download separate drivers (if so, please let us know which driver is missing so that it can be added in the next release).
To do that, simply start AnuBitux live, plug in your printer and turn it on.
When creating a paper wallet that is going to store our cryptos, no care is enough. Always prefer printers connected by cable and avoid connection types like Wi-Fi and Bluetooth because the data could be sent unencrypted and some threat actor could sniff it.
If the printer is supported by AnuBitux, you'll see a notification like the one in the below picture.
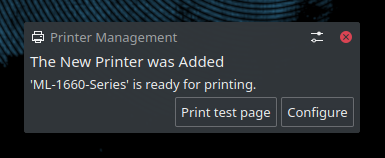
To be sure it works, you can click on the "Print test page" button.
Proceed with the generation
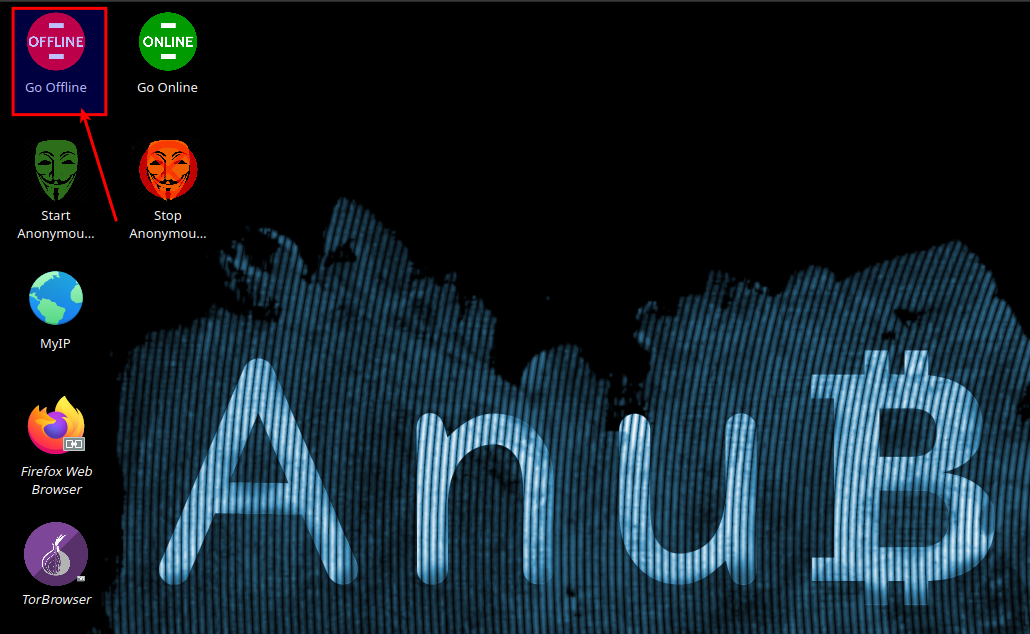
Now, to be sure that the environment is not communicating with any external device, you can use the button placed on the desktop with the "Go Offline" label. It will turn off networking and bluetooth communication.
Then, going to the application menu in the lower left corner, start the tool "BitAddress" (under the "AddressGenerators" section). It is a javascript tool that collects entropy and generates a paper wallet.
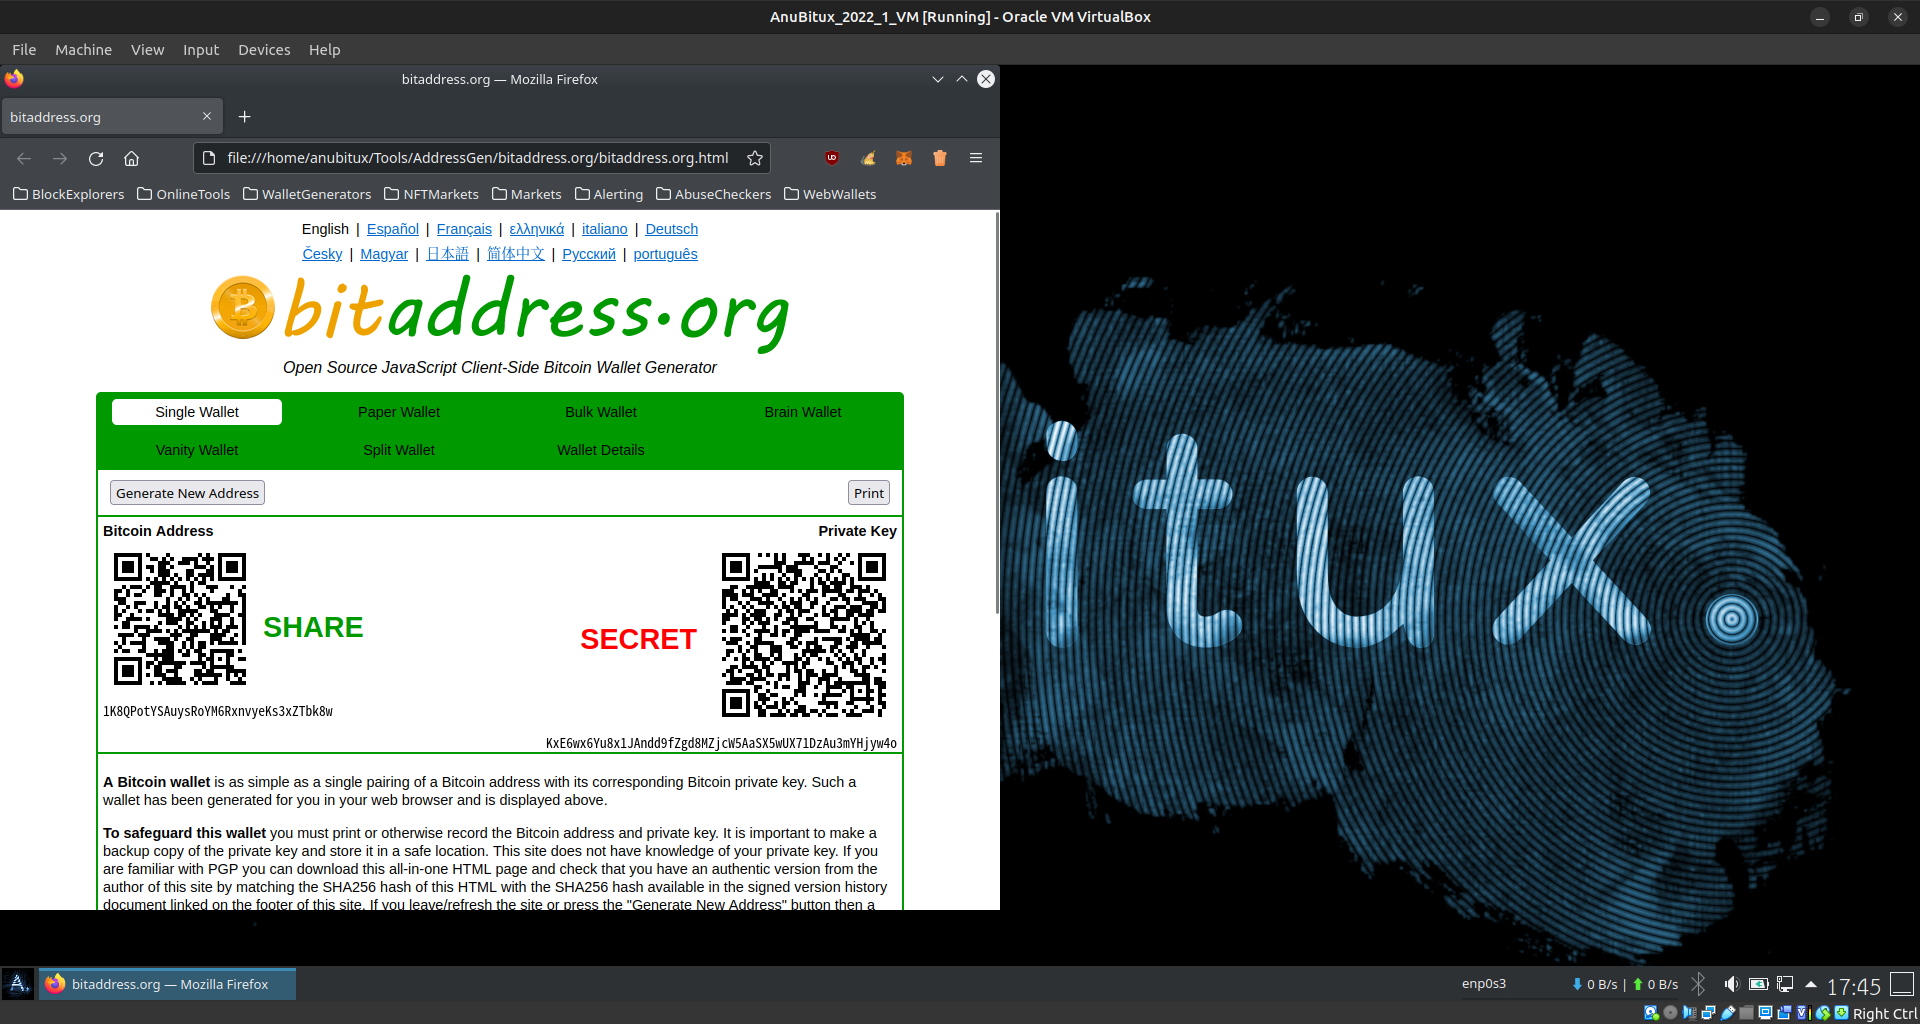
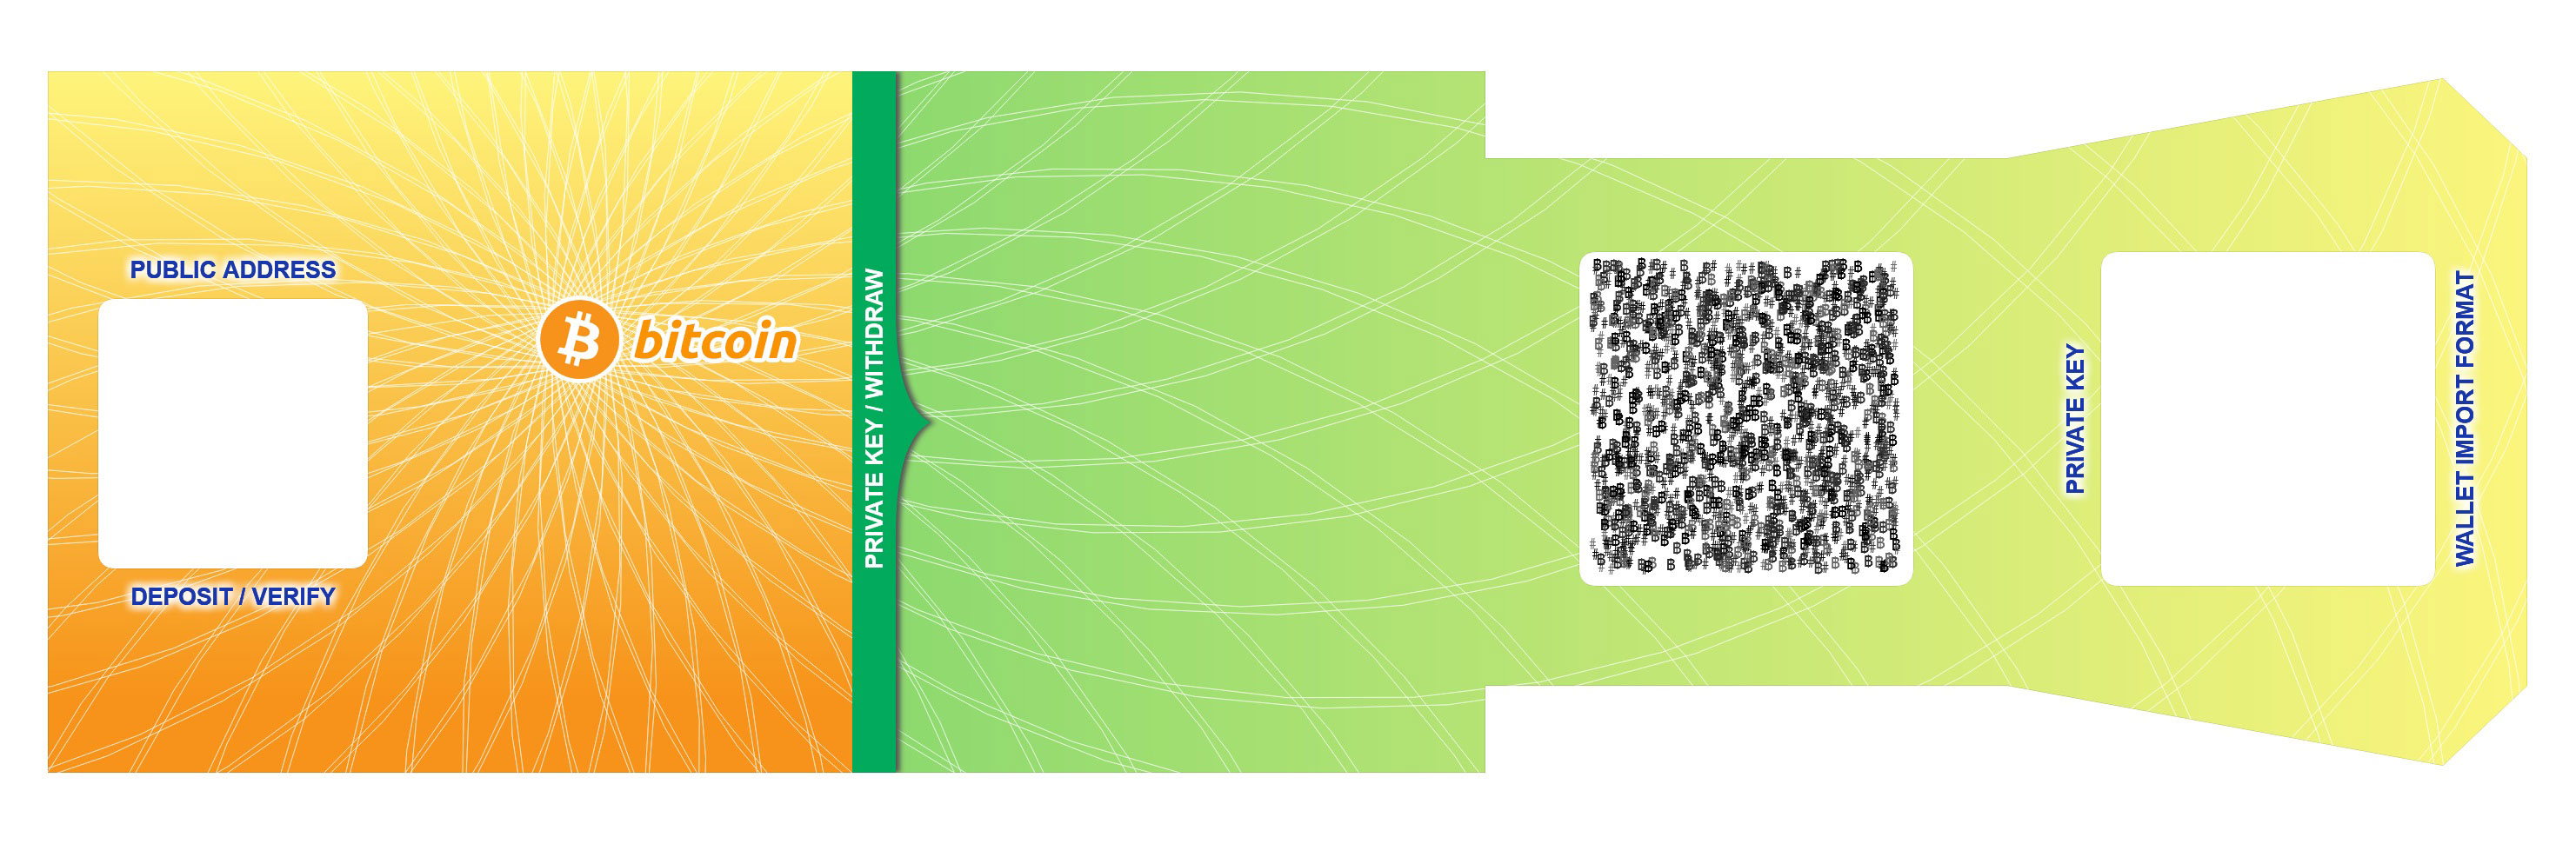
Now you can click the "Print" button placed over the secret key and youl have your paper wallet.
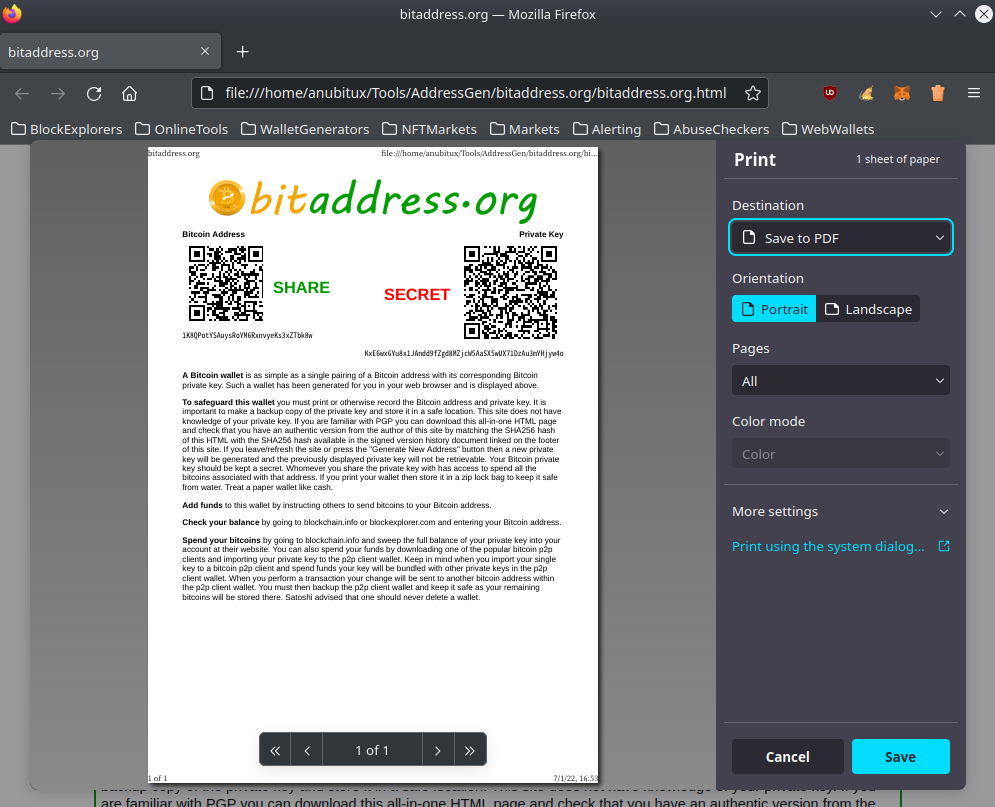
Using the Shutter tool, placed in the "UsefulTools" section, you could take a screenshot of the public address and the related QR code (placed near the "SHARE" label). It could be helpful in case you have to communicate your receiving address to a third party without the need to handle your paper wallet and keep your private key in a safe place.
Note that your paper wallet should not be moved unless you need to dispose a transaction. You only need your public address to receive funds.