
Create encrypted volumes with VeraCrypt
When we use AnuBitux in its main version, the live one, it doesn't store anything about what we are doing. But, of course, we could need to store some useful information, like wallet files, transactions we want to broadcast, passwords, KeePass files, etc. It could be a good idea to store this kind of information on an external storage, like a hard disk or an USB drive. To avoid sharing any information we want to keep private with some third party, we could think to protect it with encryption. To do that, we can use VeraCrypt. This tool allows us to encrypt entire volumes or create some encrypted containers and works almost with all the main desktop operating systems.
Let's see how to encrypt an external storage and how to create an encrypted container, to store our sensitive information and safely access them while using AnuBitux.
Encrypt an external storage
Now we are going to see how to encrypt an external storage, like an USB drive.
Note that this procedure is going to erase the content of your device, and is not going to add encryption over it. So, before proceeding make sure you are using a new device or an empty one. Unless so, you could lose your files.
Remember that it is always a good idea to back up more copies of what we are storing on our devices since they could stop working at any time. We should always avoid relying on a single point of failure.
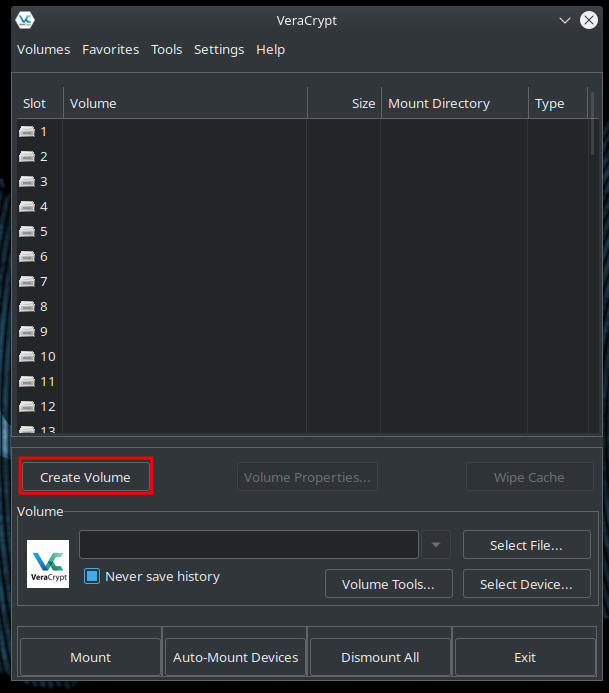
First of all, let's start the Veracrypt tool, which can be found in the Encryption menu and click on the "Create Volume" button.
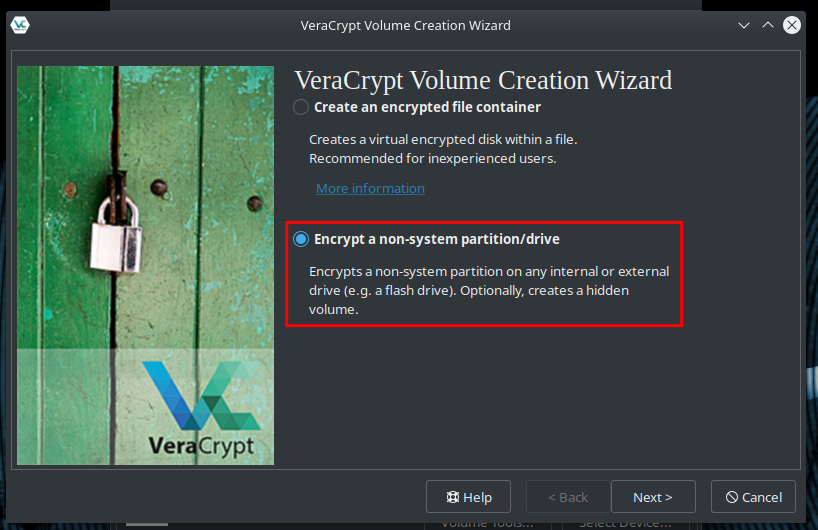
On the upcoming menu, we have to select "Encrypt a non-system partition/drive". Veracrypt could also be used to encrypt system drives, but it decreases sensibly the performance of your disk, so in these cases consider using system disk encryption like LUKS, BitLocker or FileVault.
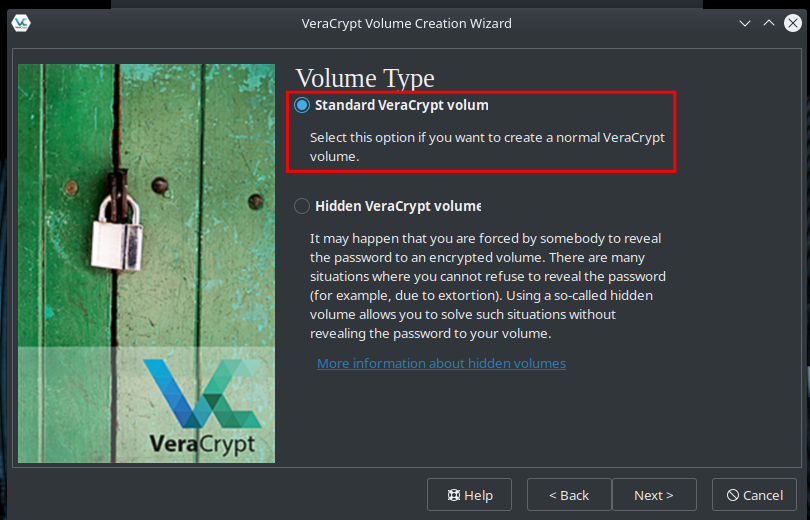
In the next step, we can choose the "Standard Volume" option. The "Create Hidden Volume" option is also available. It can be very useful if we have to set up plausible deniability strategies.
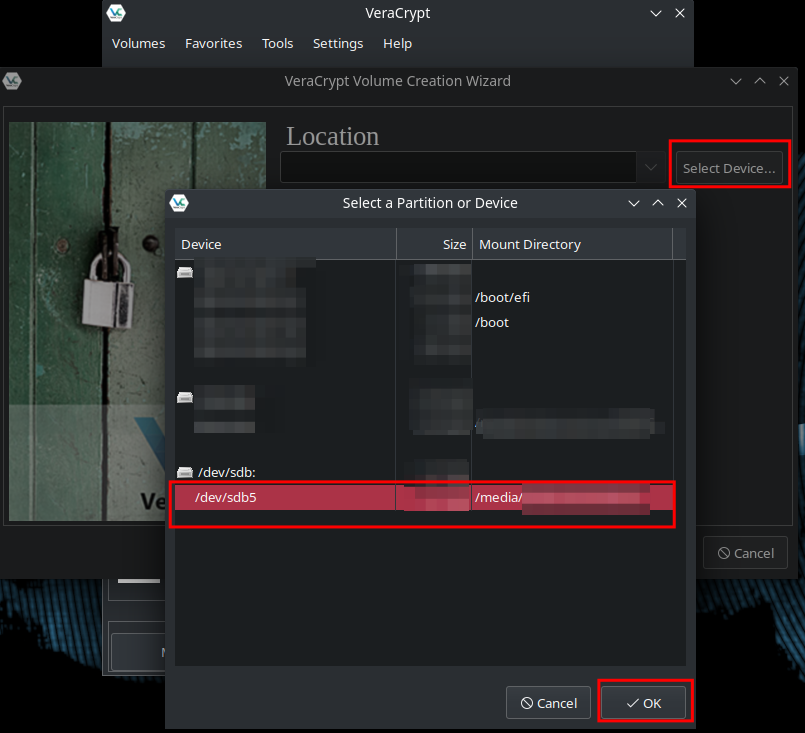
Now we have to select the device we want to encrypt.
in the next step, we can choose the encryption algorithm. We can leave the default settings as they are since they work pretty well unless we have special needs.
Finally, we can choose the password to encrypt our external storage.
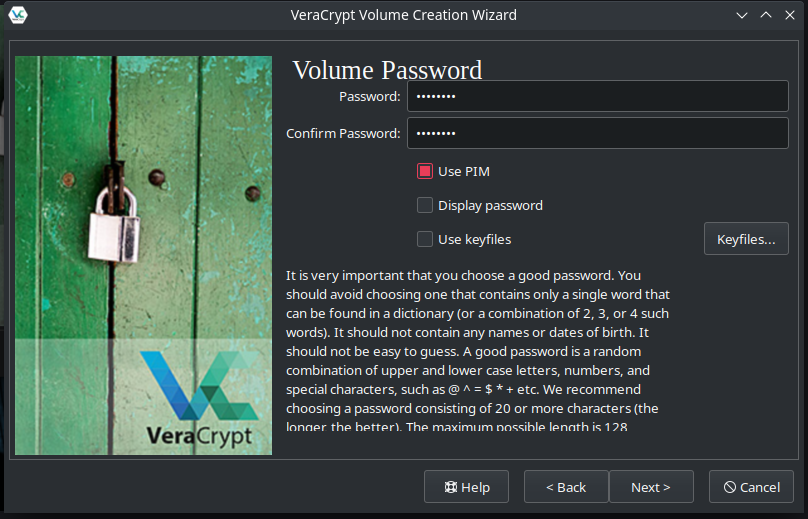
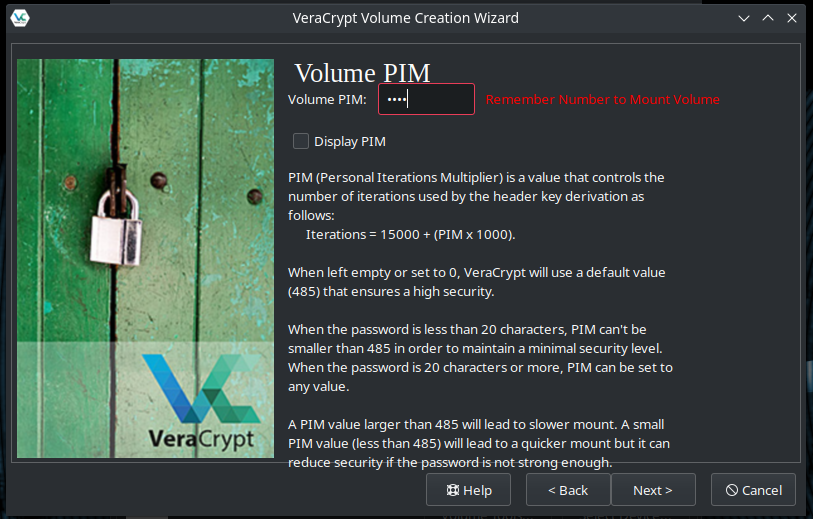
We can also check the "Use PIM" and the "Use keyfiles" options. The PIM (personal iterations multiplier) is a number that will be used in addition to our password to encrypt the storage and will be necessary to decrypt it. It adds another layer of security to our drive and reduces the chances to unlock it with brute force attacks. When using shorter passwords than 20 characters, PIM's value can't be lower than 485.
We could also add a Keyfile, a file that we have to provide when we want to unlock our volume. We should use this feature when we are unlocking our device only from a few computers because it would force us to carry the file with us on an unencrypted storage in any place we will need to unlock our encrypted storage. Also when working with live environments like AnuBitux, it would force us to retrieve the file from another source any time we need to unlock our device.
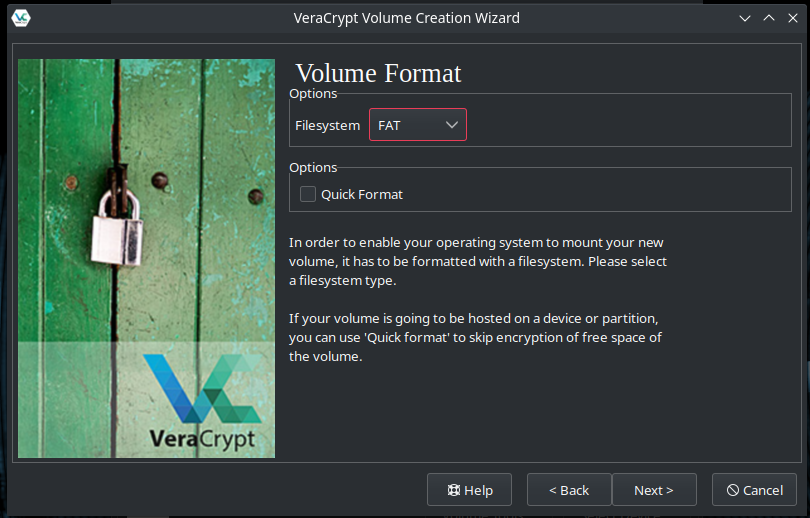
In the last step, we can choose the Filesystem of our device. We can also choose to use the "Quick Format" option. It should be used only with new devices because it will not overwrite all the memory portions of them and could allow someone to recover some information that was stored previously. Remember that encrypting big disks could take several hours.
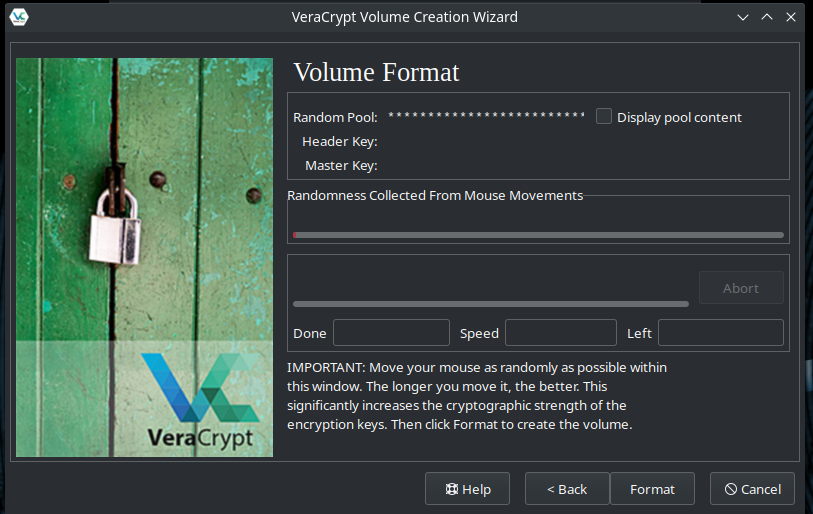
Now, clicking on the next button, Veracrypt will collect entropy from the movements of our mouse and then the formatting process will begin.
Create an encrypted volume
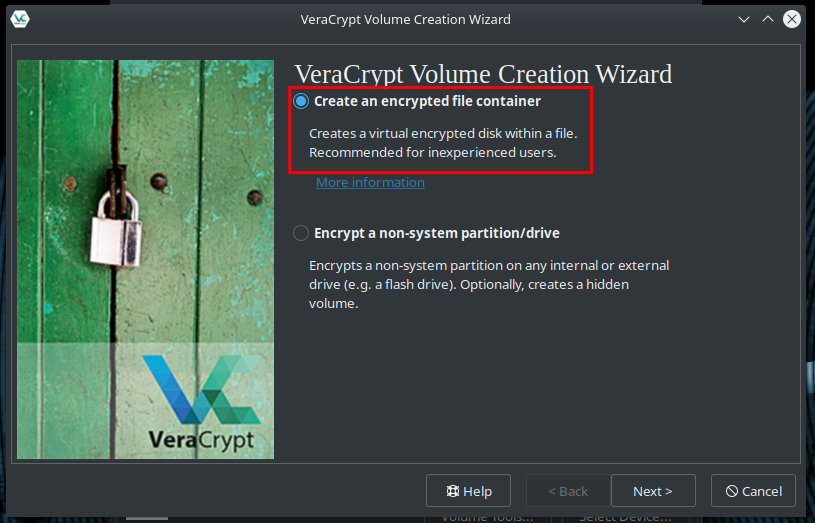
When creating an encrypted volume, the procedure is almost the same. At the start point, from the "VeraCrypt Volume Creation Wizard", we have to select the "Create an encrypted file container" option.
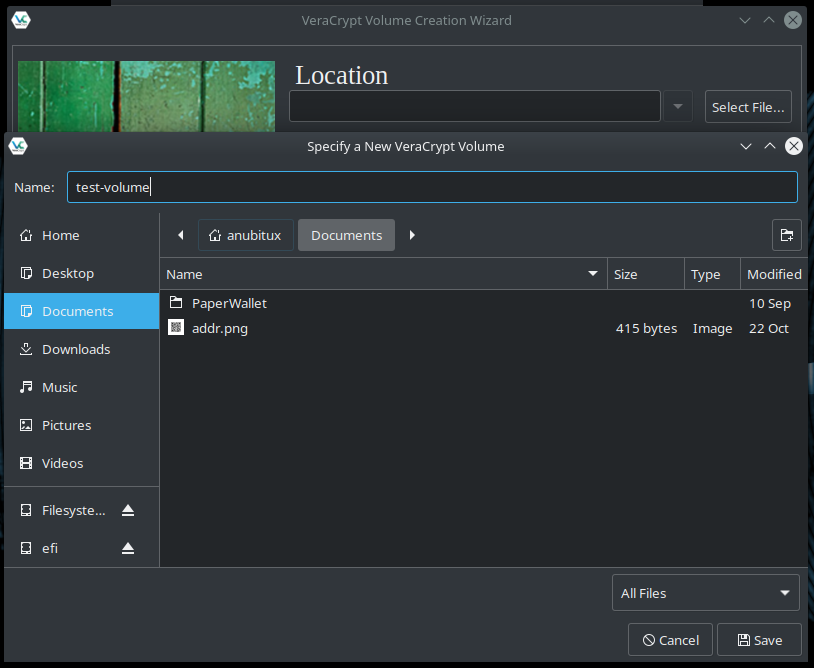
Then, in the location menu, we have to select where to store the container and choose a name for it.
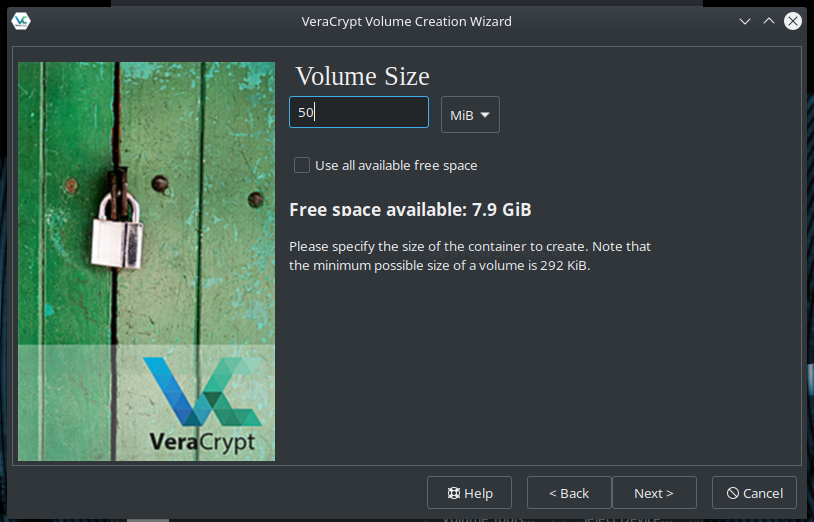
Now we only have to choose the size of our volume and then we can follow the same steps we have seen above.
Unlock VeraCrypt volumes
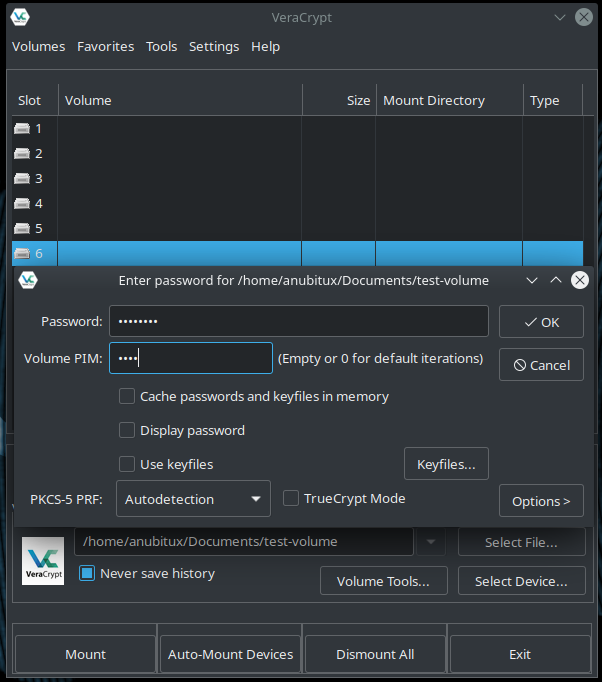
Access a volume we have encrypted with VeraCrypt is very easy. After starting the tool, we have to choose a location to mount the volume from the list of numbers. Then we have to click on the "Select file..." button if we want to mount a container or on the "Select Device..." button if we want to mount an encrypted storage.
Then we have to click on the Mount button, provide the password and the PIM (if we set it up when creating the volume) and all is done.
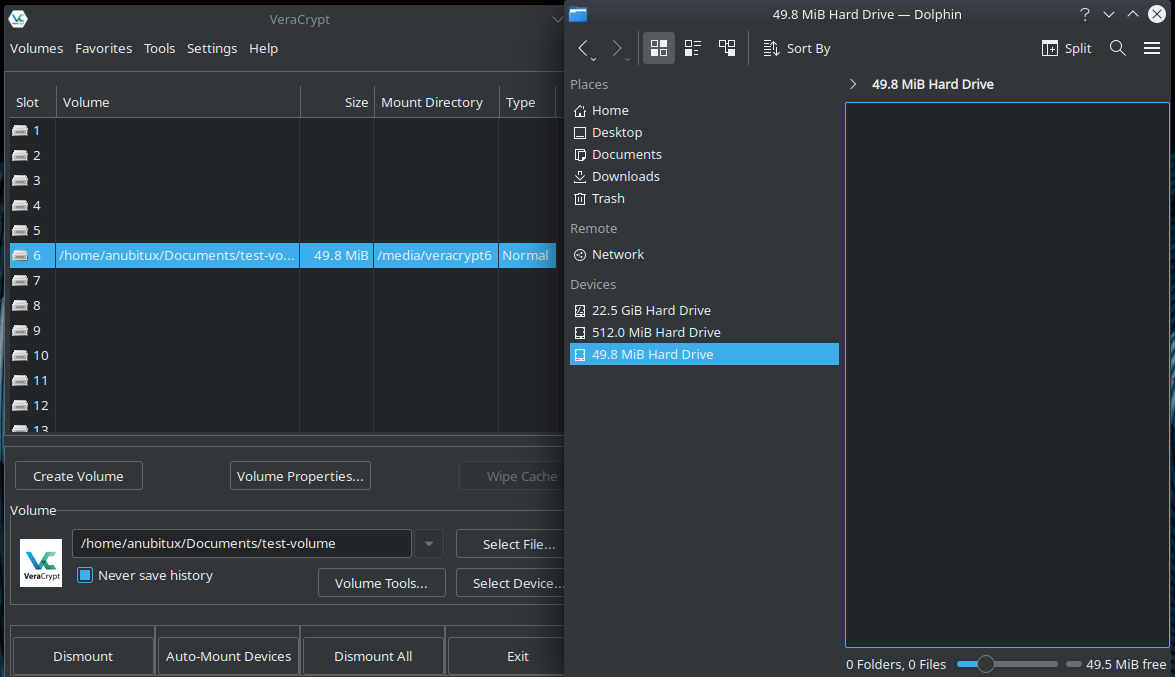
Now can access our volume with our file manager, like a common external device.
When we do not need the volume anymore, we should always dismount it from the VeraCrypt user interface, using the proper button.
Final thoughts
Veracrypt gives us a safe way to store information and files and access them from almost any desktop operating system. We have always to consider that adding security to our information requires a bigger caution from our side since if we lose or forget the encryption password or the PIM we have set up, it could be impossible to recover our information. So it is recommended to use passwords we can always remember or we can always access in a safe way.